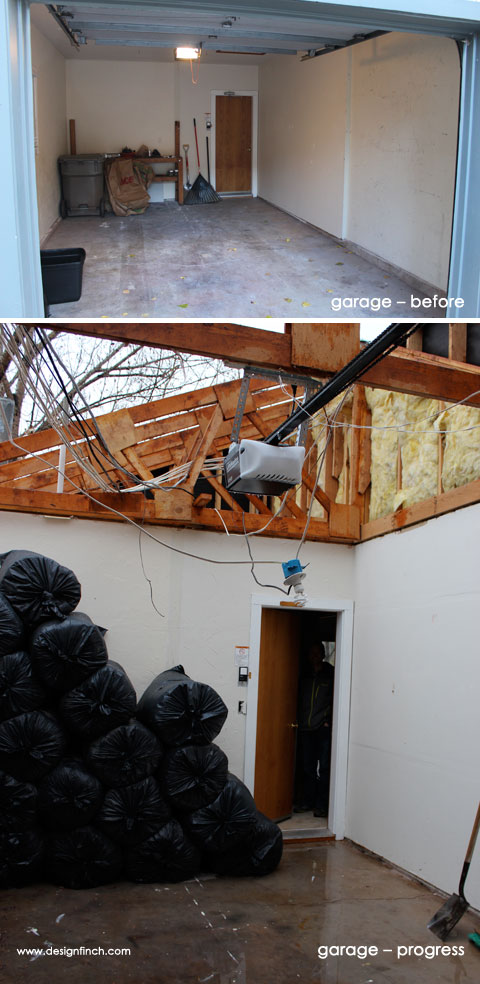
This past Monday afternoon around lunch time I walked over to the house to check on the progress and this is what I found….
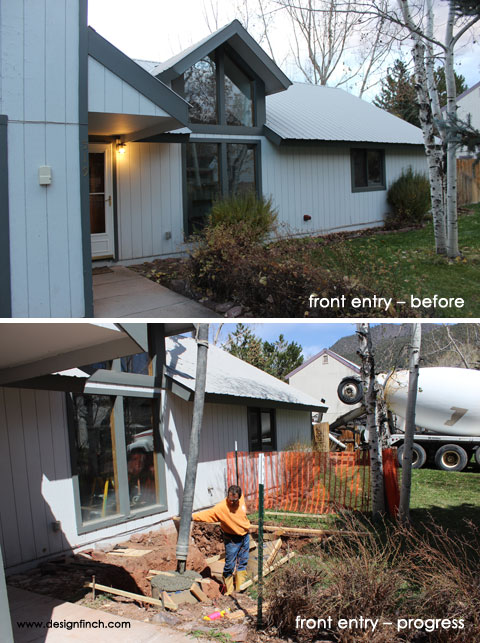
 ….snow and a gaping whole in the roof! The day that we were scheduled to demo the roof and exterior wall, winter decided to make its reappearance in the middle of May. Mother Nature has a warped sense of humor! That didn’t stop our diehard construction crew, though.
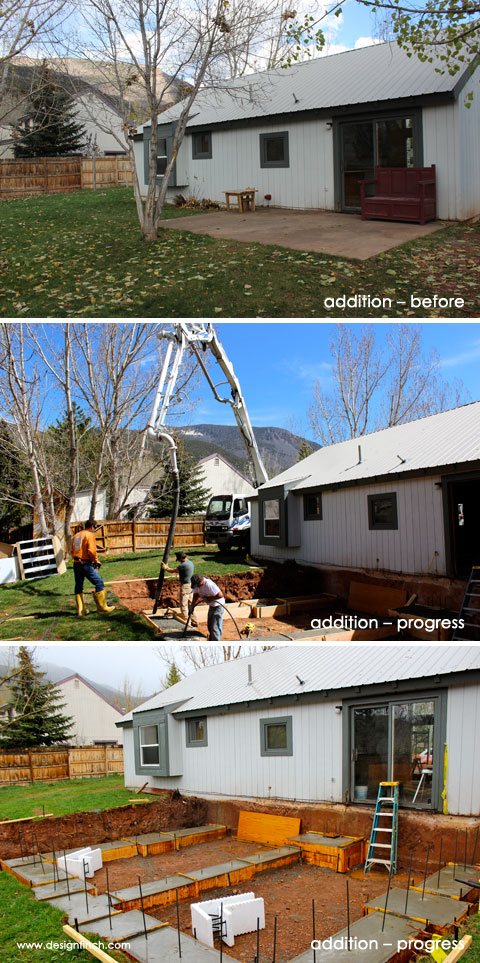
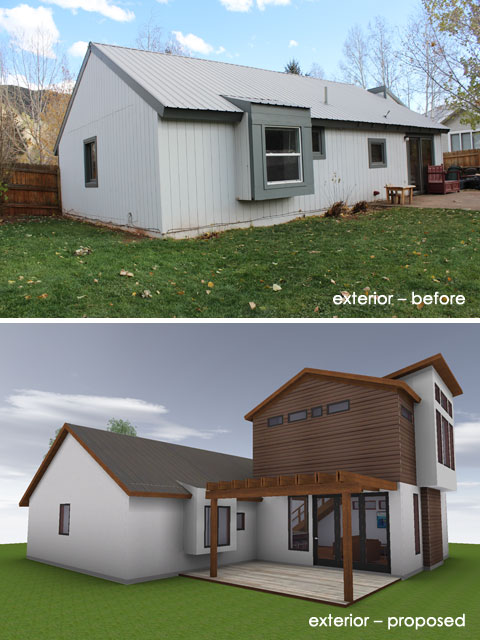
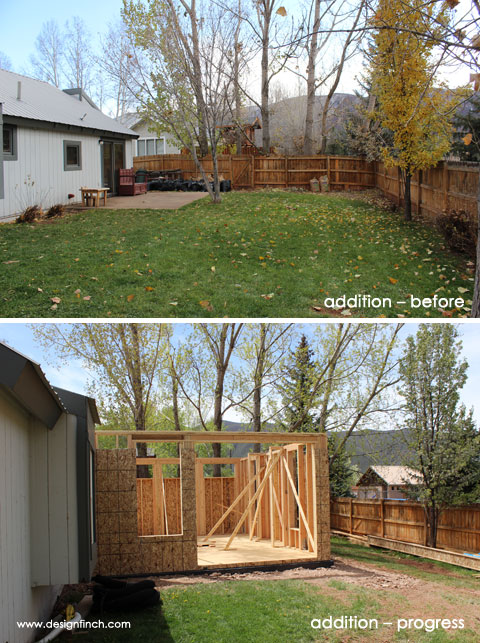 Shortly after the exterior demo was finished, the framing for the first level of the addition began to go up!
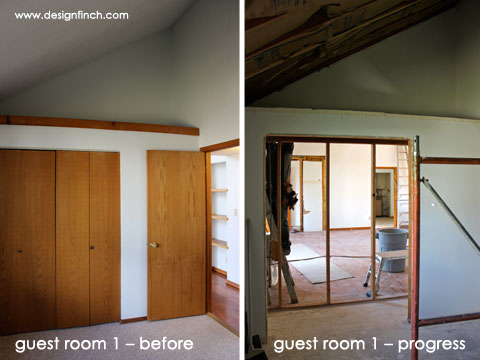
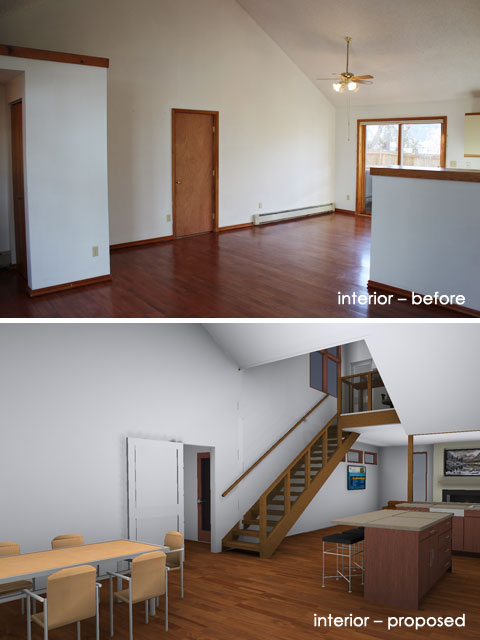
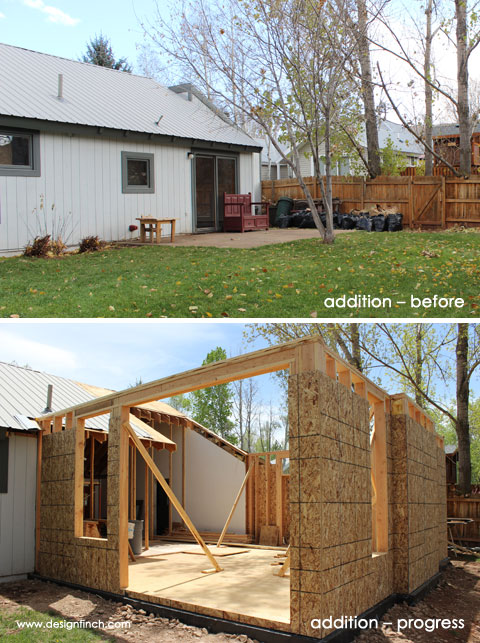 Here’s another view of the addition looking back towards the interior where the new living room will be. The big opening in the wall is for the sliding doors that will go from the living area out onto the patio.
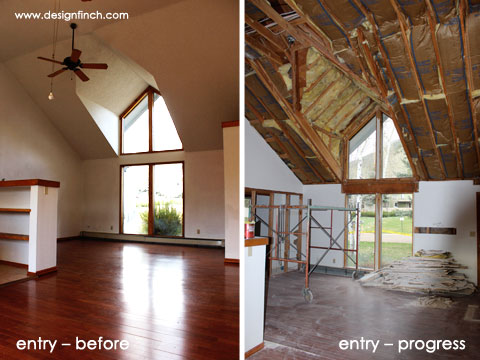
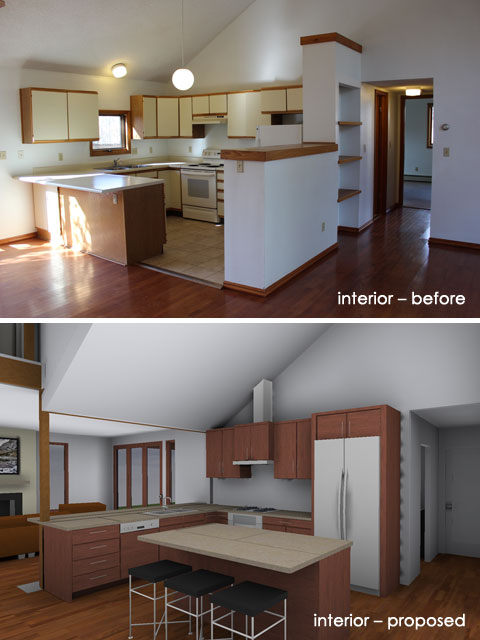
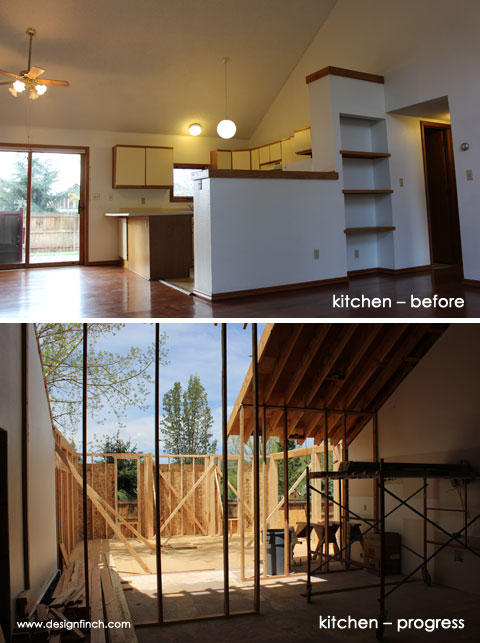
 This is the view of the living room from the kitchen. Being able to see the mountains through the clerestory windows while standing in the kitchen washing dishes will make the task so enjoyable.
Who am I kidding, I’ll still loathe washing dishes!
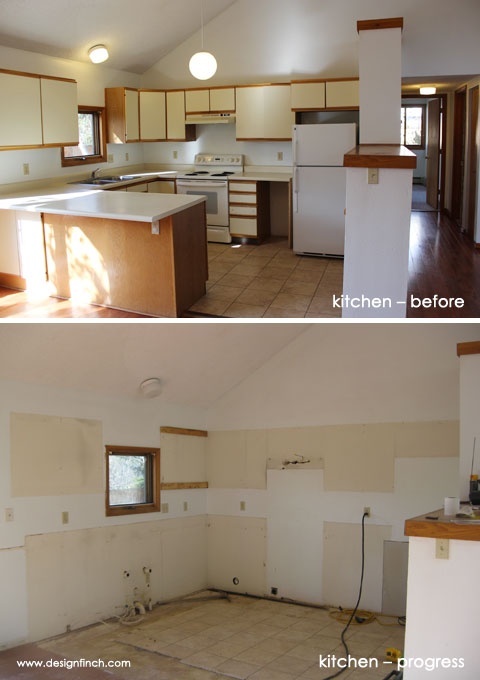
 This is the view from the existing front door looking back towards the kitchen. It’s really fun to finally be able to get a sense of the space in person after looking at the plans on paper for the past six months!
 This weekend Jason and I did a little yard work at the house….not sure that we should label it “progress” since we basically just dug up all of the shrubs. I also moved approximately 9,452 tons of rocks by myself and made a big pile by the curb that I’m hoping little elves will come and haul away for free in the middle of the night. Maybe they will completely re-landscape our yard while they are at it.